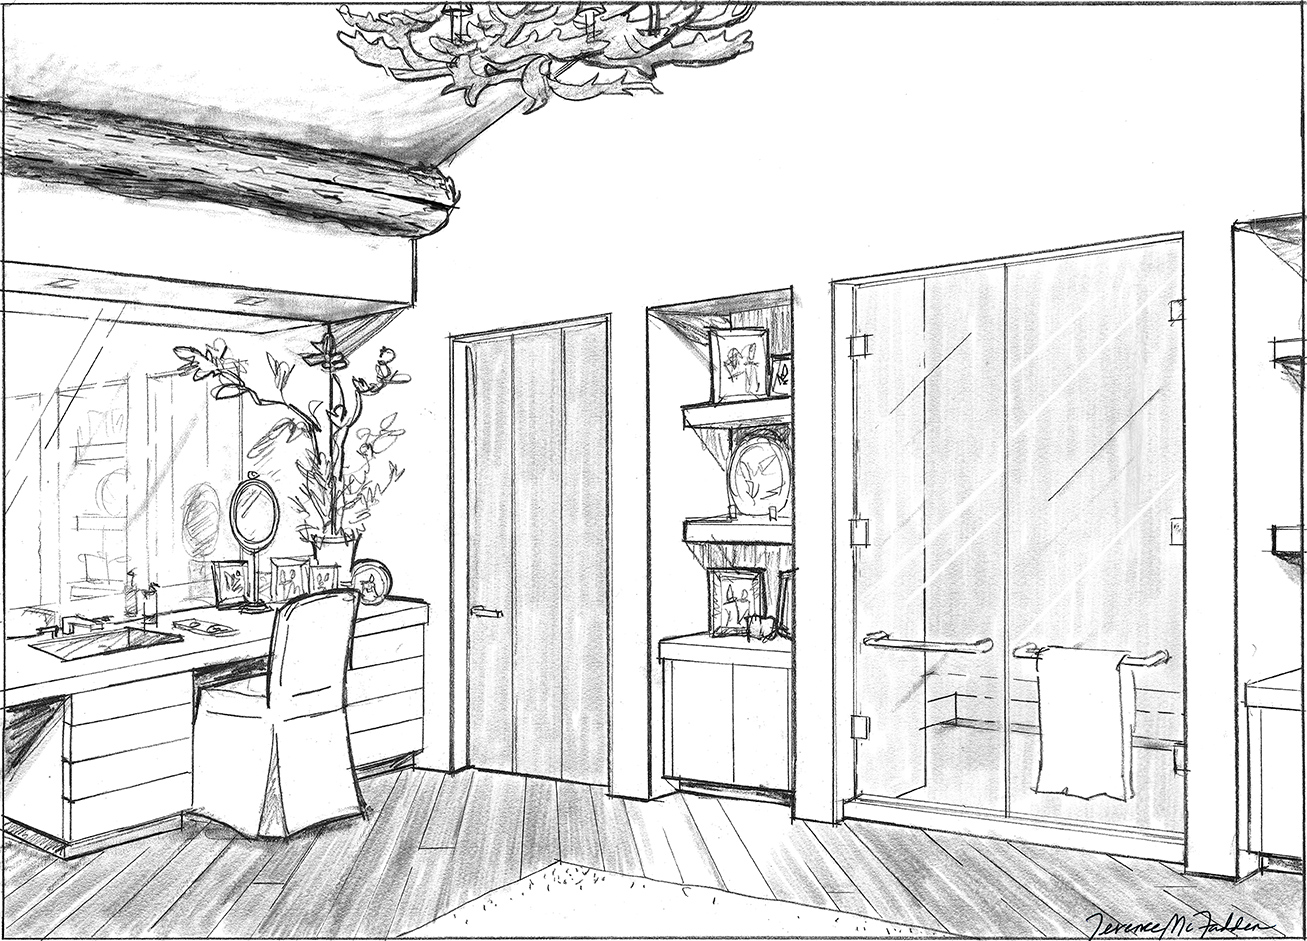
1. The initial design of the bathroom.
Let’s take a look at how I drew two renderings showing the concept for a primary bathroom in a home in Aspen, Colorado, as designed by Richard Hallberg Interior Design. These are hand-drawn renderings that have a warmth and classic quality not usually found with computer-generated illustrations.
First, following with the project designers’ initial plans and direction, I drafted the floor plan of the entire home, so I had an understanding of the room’s scale early on. The designer likes the warmth of hand-drawn plans! The detail of plan, left, shows the primary bathroom. The designers provided the four elevations for the room, one elevation shown on the right. Click images to see full-size.
2. My preliminary drawings.
The project designers and I discussed the ideal views of the room to explain the concept to the owners.
Based on the plan and elevations, I hand-sketched preliminary perspective drawings on layers of tracing paper. The different colors of lines, including the red pencil, helped with discussion of the details. For example, the room would include large beams at the ceiling, a chandelier with antlers hanging between those beams, a freestanding bathtub and a custom his-and-her vanity.
3. Cleaned-up pencil drawings.
Then, on fresh tracing paper, I redrew the perspective drawings. The designers told me the owners like to have portraits of their family around, so I included framed images as well as art and plants in the accessories.
Click the images to see them at full-size.
4. The final hand-drawn renderings.
Finally, I scanned both images and cleaned them up in Photoshop. At the top of this post, you can see the view towards the shower. Here, I’m showing the final drawing looking towards the bathtub and custom vanity. The photo of the built-space to the right shows how accurate was the hand-drawn rendering. Click the images to see at full size.


